DayZ Badlands clothing Guide for Desert Heat
Player-tested tips on DayZ Badlands clothing, hydration stages, low-insulation outfits, and how to clear desert heat stress safely.
Desert survival in DayZ fails fast when your outfit traps heat. DayZ Badlands clothing decides whether a long trek stays manageable or turns into blurred vision, lost stamina, and vomiting. This guide explains why DayZ Badlands clothing matters more than the temperature icon alone, using player experience from 1.30 heat-script testing and community reports about lighter desert pieces.
Patches move these numbers. Treat every threshold below as a field report, not a permanent rule, and confirm the live build on the official DayZ website.
Why Desert Heat Punishes Heavy Kits
Heat here is not just a red thermometer. Player experience separates the temperature icon, which shows your current thermal state, from a stored heat-stress value that actually drives heat stroke. The icon can look calm while that stored value still causes problems. Cooling down slows further gain. It does not erase the balance already on the books.
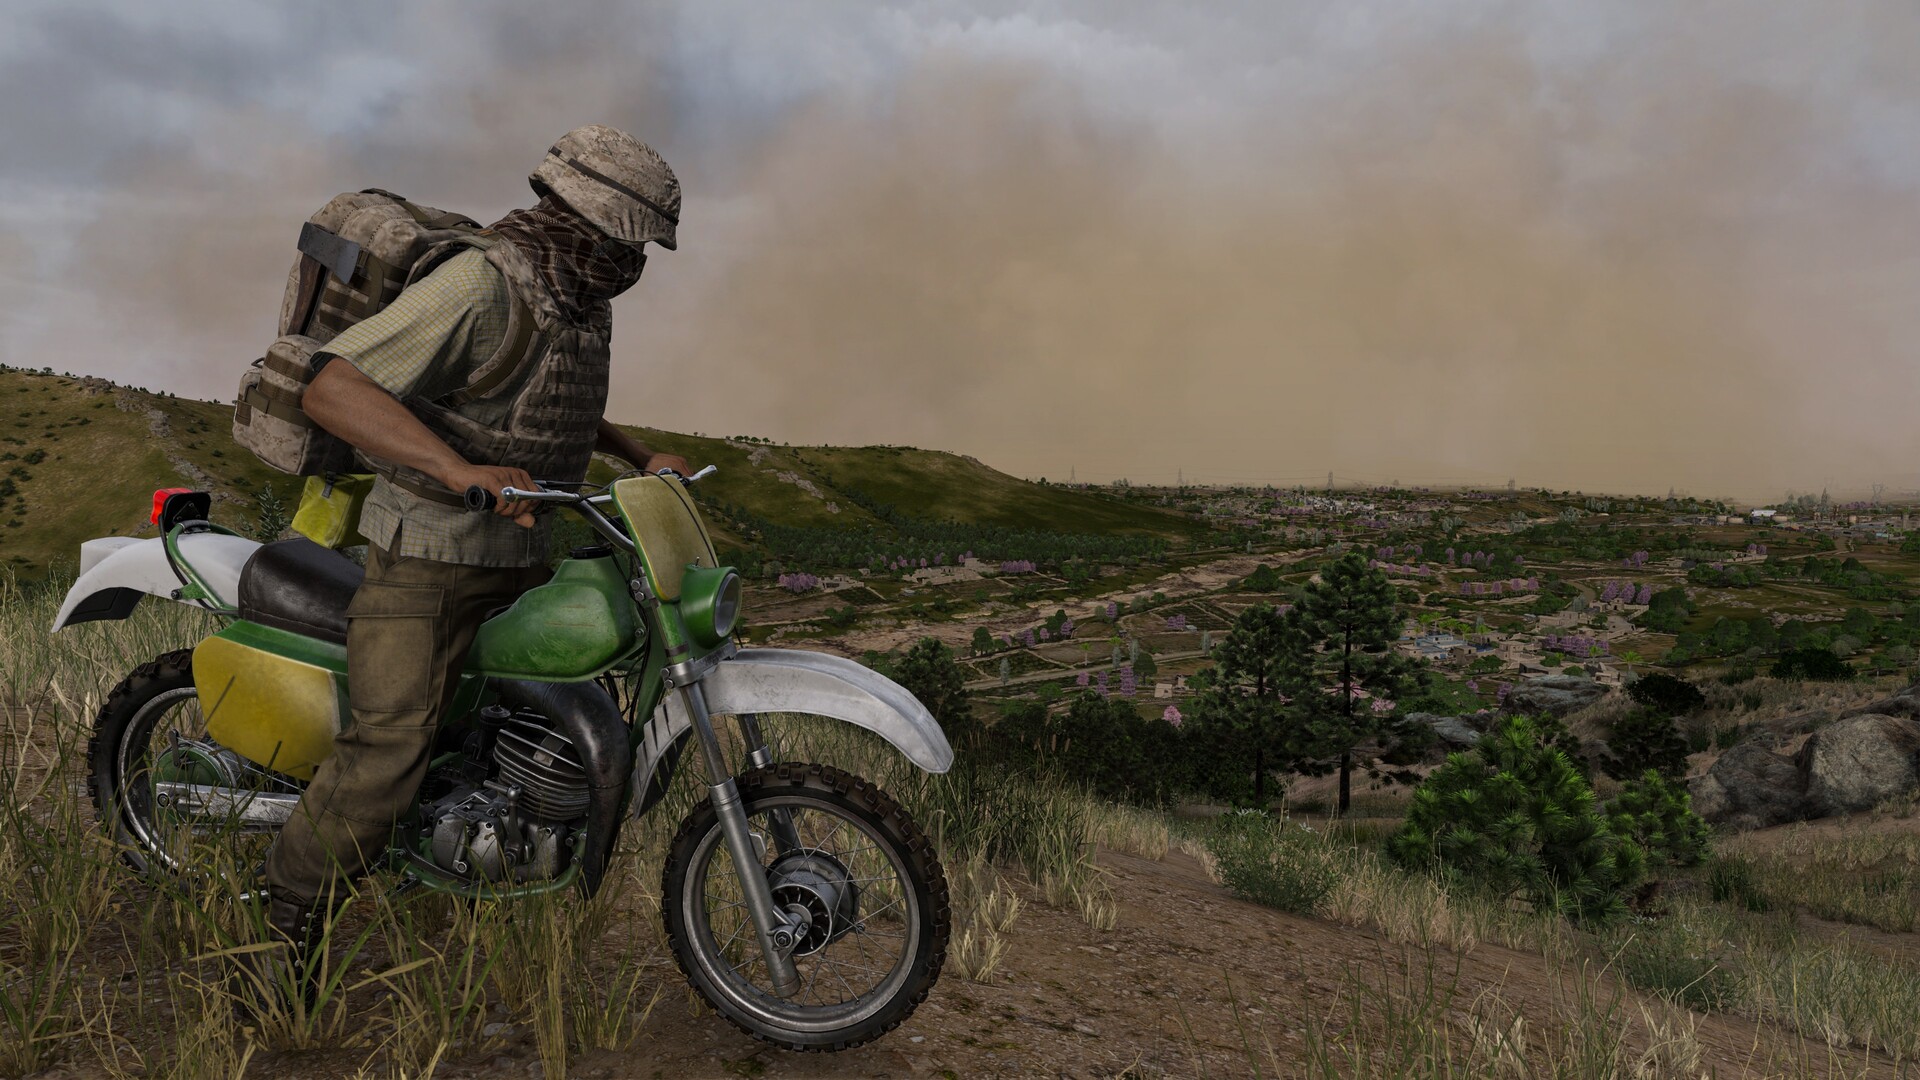
Official screenshot · Source: Steam store
Community reports from June 2025 said new Badlands pieces were coming specifically to help with desert heat. That lines up with how spawn gear already behaves. The starting kameez and shalwar are low-insulation choices. Regular sandals insulate less than traditional sandals. A medical scrub shirt has a lower base insulation than the kameez. Looks are a weak guide. Pick the actual item instead of assuming every desert-styled piece runs cool.
Symptoms overlap with other problems, so they are easy to misread. Heat stress can blur vision, cut stamina, and cause vomiting. Severe cases add fainting and health damage. The general sickness icon is not a precise heat-stroke gauge. Treating only "illness" can burn medicine while heat stress keeps climbing. That is what DayZ Badlands clothing is for: keeping the full outfit light enough that a yellow temperature stays realistic on a long walk.
Read the Water Icon in Stages
The water icon uses fixed pictures. It is not a smooth gauge. Player experience on installed 1.30 scripts puts a fresh spawn at 1,000 water out of a 5,000 maximum, only 20 percent, and the icon is already yellow. Yellow covers about 300 through 1,000. Above 1,000 the icon turns white. The fullest white step appears only above 3,500. Red stages sit below the yellow range, so do not wait for red before you drink.
A full-looking white icon can be just over 70 percent hydrated. In community testing it looks the same at 3,600 and at 5,000. Do not treat the first "full" picture as a maxed tank. Drink past that transition and keep a reserve above it.
| Icon look | Approximate water | What to do |
|---|---|---|
| Red | Under the yellow band (below about 300) | Drink now; red means you waited too long |
| Yellow | About 300–1,000 | Still low; a fresh spawn at 1,000 is in this band |
| White, not fullest | Above 1,000 through 3,500 | Keep drinking; the icon looks better than the reserve |
| Fullest white | Above 3,500 up to 5,000 | Hold spare water; 3,600 and 5,000 share one icon |
Stay in the Window That Blocks New Stress
Prevention is a pair of conditions, not a single item. While temperature stays yellow and water stays at least 3,500, player experience says this heat system adds no further stress. If you started clear, holding both stops buildup through that mechanic.
The protection stops at red or flashing red temperature. Stress can accumulate there even with full water. Ease off sprinting, get out of direct sun, and reduce thermal load. If stress already exists, restoring hydration will not clear it on its own.
| Temperature | Water | Reported effect |
|---|---|---|
| Yellow | At least 3,500 | No further stress added when you started clear |
| Yellow | Below 3,500 | That no-buildup shield does not apply |
| Red or flashing red | Even when full | Heat stress can still stack |
| Any, once stress exists | Raised again later | Water refill alone does not delete stored stress |
Heavy insulation is not an automatic knockout while you remain yellow and highly hydrated. It does make the step into red easier when weather, sprinting, or extra layers change. Lower insulation gives more room for error and less dependence on constant water and shade.
DayZ Badlands Clothing Compared by Insulation
Sort pieces by how they change the whole outfit. Shirts and pants carry more weight in the insulation calculation than backpacks. Swapping a torso or a pair of pants usually matters more than obsessing over the bag.
Military gear can work. Player experience points to the FNO, OBR, and summer Gorka sets as lower insulation than several heavier military options, even in pristine condition. Keep the armor or storage you actually need, then use lighter clothing in the open slots. Sorting DayZ Badlands clothing by measured heat, not by camo, is how a military look stays survivable. The goal is a full DayZ Badlands clothing setup whose combined load you can keep in the yellow.
| Piece | Relative insulation | Field note |
|---|---|---|
| Starter kameez and shalwar | Low | Strong default until you confirm something lighter |
| Regular sandals | Lower than traditional sandals | Worth swapping even though the slot looks minor |
| Medical scrub shirt | Lower base than the kameez | Cooler than the starter top; do not judge by appearance |
| FNO, OBR, summer Gorka | Lower than several heavy military sets | Usable while pristine if the rest of the kit is light |
| Heavier combat clothing | Higher | Acceptable inside the yellow, high-water window |
| Badly damaged backpack | About half pristine dry insulation | Loses durability; a hit can also damage contents |
Ruining a backpack really does cut insulation. Badly damaged retains about half the dry insulation of pristine. You pay with durability, and hitting a loaded bag can damage the contents. Do not do it automatically when the intact outfit is already manageable. Try the lighter military variants or a low-insulation carrier first.
Wetting suitable clothing can also reduce insulation without a permanent tear. It adds carry weight and dries over time, so treat it as a short cooldown rather than your build. If two shirts both look like desert kit, test or compare the known pieces above instead of guessing.
Remove Built-Up Stress on Purpose
If you are already affected, cut the current heat load, rehydrate, and use an effective face wash to bring stored stress down. Passive recovery can be very slow, so do not wait for symptoms to vanish on their own. There is no single honest time-to-death. Accumulated stress, health, regeneration, dehydration, and unconscious periods all change the result.
Use Wash Face. Wash Hands is a different action and does not do this job. You can wash at a suitable water source or with the container version when you have one.
At a source, one completion is about three seconds of active progress. Let the circle finish once. You do not need to empty a bottle or drench every clothing slot. Starting and ending animations sit outside that circle, so do not confuse them with the action itself.
The container version uses about a half-second cycle and consumes roughly 50 ml per completion. It repeats while the input is held, which means a long hold keeps spending water. One completed cycle already attempts the direct reduction.
After a finished wash, a resistance period of about 30 seconds blocks normal heat-stress changes. Washing again inside that window refreshes the timer but does not give another reduction while resistance is active. For another real drop, stop, let slightly more than 30 seconds pass after the last completion, then repeat if you still need it. After you recover, you do not need a wash every half minute. Go back to water and temperature.
| Method | Time or cost | How not to waste it |
|---|---|---|
| Wash Face at a source | About 3 seconds of progress | Finish one circle; skip soaking the whole outfit |
| Wash Face from a container | About 0.5 seconds and ~50 ml | Let go after one cycle |
| Another wash inside ~30 seconds | Refreshes resistance only | Wait past 30 seconds for a second reduction |
| Wash Hands | Separate action | Does not replace Wash Face |
Tetracycline, vitamins, charcoal, and painkillers do not directly remove this heat stress. Saline can help restore water in blood, but it is not a direct heat-stroke cure. Those supplies still help other conditions. They do not replace shade, water, lighter DayZ Badlands clothing, and a correctly timed face wash.
Judge recovery by symptoms and by whether you are still inside the safe window, not by the temperature icon alone. A normal temperature icon can show up well before stored heat stress has cleared.
Build One Outfit and Then Maintain It
Choose gear around the whole outfit's result. A balanced DayZ Badlands clothing plan beats chasing one famous jacket.
- Get water above 3,500 before you worry about cosmetic upgrades.
- Hold temperature in yellow; if it hits red, stop sprinting and find shade first.
- Prefer a scrub shirt, the starter kameez, or a confirmed light military top.
- Match it with shalwar or lighter pants rather than the heaviest trousers you own.
- Pick regular sandals over traditional sandals when footwear is a free choice.
- If you want a military silhouette, try FNO, OBR, or summer Gorka before thicker sets.
- Keep one armor or storage piece you cannot drop, and lighten the remaining slots.
- Wet clothes for a brief insulation cut, and leave pristine packs intact unless you have no other option.
Military equipment stays on the table. Maintaining the conditions that make it usable is what matters: a hydration reserve, a manageable temperature, and Wash Face when accumulated heat stress needs reducing. When a patch ships, recheck these thresholds, because community script tests are a snapshot, not a promise.
FAQ
Does DayZ Badlands clothing prevent heatstroke by itself?
No. Light pieces make it easier to stay in yellow and reduce how often you depend on water and shade. Player experience says the no-buildup window still requires yellow temperature and water of at least 3,500. A cool shirt will not save a red, flashing temperature or erase stress that is already stored.
Should I damage my backpack so it insulates less?
Only as a last resort. A badly damaged pack keeps about half the dry insulation of a pristine one, but you lose durability and you can damage whatever is inside if the bag is hit. Shirts and pants influence the insulation total more. Change those, or use a lighter carrier, before you wreck a good pack.
Will medicine clear desert heat stress?
Not directly. Antibiotics, vitamins, charcoal, and painkillers do not remove this stored heat stress in the reported 1.30 tests. Saline supports blood water and is still not a heat-stroke cure. Use medicine for the conditions it actually treats, and use hydration, cooling, and Wash Face for heat stress.
Why am I still sick when the temperature icon looks normal?
Because heat stroke tracks accumulated stress, not only the current temperature picture. Cooling can stop the problem from getting worse without instantly clearing what built up. Keep an eye on vision, stamina, and vomiting, and repeat a valid face wash only after the roughly 30-second resistance window ends.
Related Guides
DayZ Badlands base building: a Nasdara rebuild guide
Plan DayZ Badlands base building in Nasdara: rebuild houses, mix brick and wood, and keep code locks alive.
DayZ Badlands Heat Stroke: Stages, Shade, and Cures
DayZ Badlands heat stroke builds in the sun and kills without a gunshot. See the four stages and how shade, water, and wet clothes stop it.
DayZ Badlands how to find water: fresh spawn guide
DayZ Badlands how to find water on Nasdara: trucks, rebuilt wells, boiling, and shade so fresh spawns do not die of thirst.
DayZ Badlands early access: launch and features
DayZ Badlands early access notes meet the live 1.30 wipe: heat, water, sandstorms, bikes, and what creators could not confirm.
DayZ Badlands izurvive Nasdara Satellite Guide
Use the DayZ Badlands izurvive Nasdara map to filter loot, mark squad routes, and learn districts after the 1.30 wipe.